
Temperature gets all the credit when it comes to smoking brisket. And yes, it matters. But if temperature were the whole story, there wouldn't be so many failed briskets sitting dry and tough on cutting boards across America every weekend.
The truth is, every single step of the brisket process matters — and most people are losing the cook long before they ever pull it off the smoker.
Drip EZ ambassador @406_bbq has dialed in a brisket method that covers every phase of the cook, including the step that gets skipped or rushed more than any other: the rest. Here's the full breakdown.
Step 1: The Trim
A good brisket cook starts before the smoker ever gets turned on. Trimming your brisket properly sets up everything that follows — it shapes how fat renders, how bark forms, and how evenly the meat cooks.
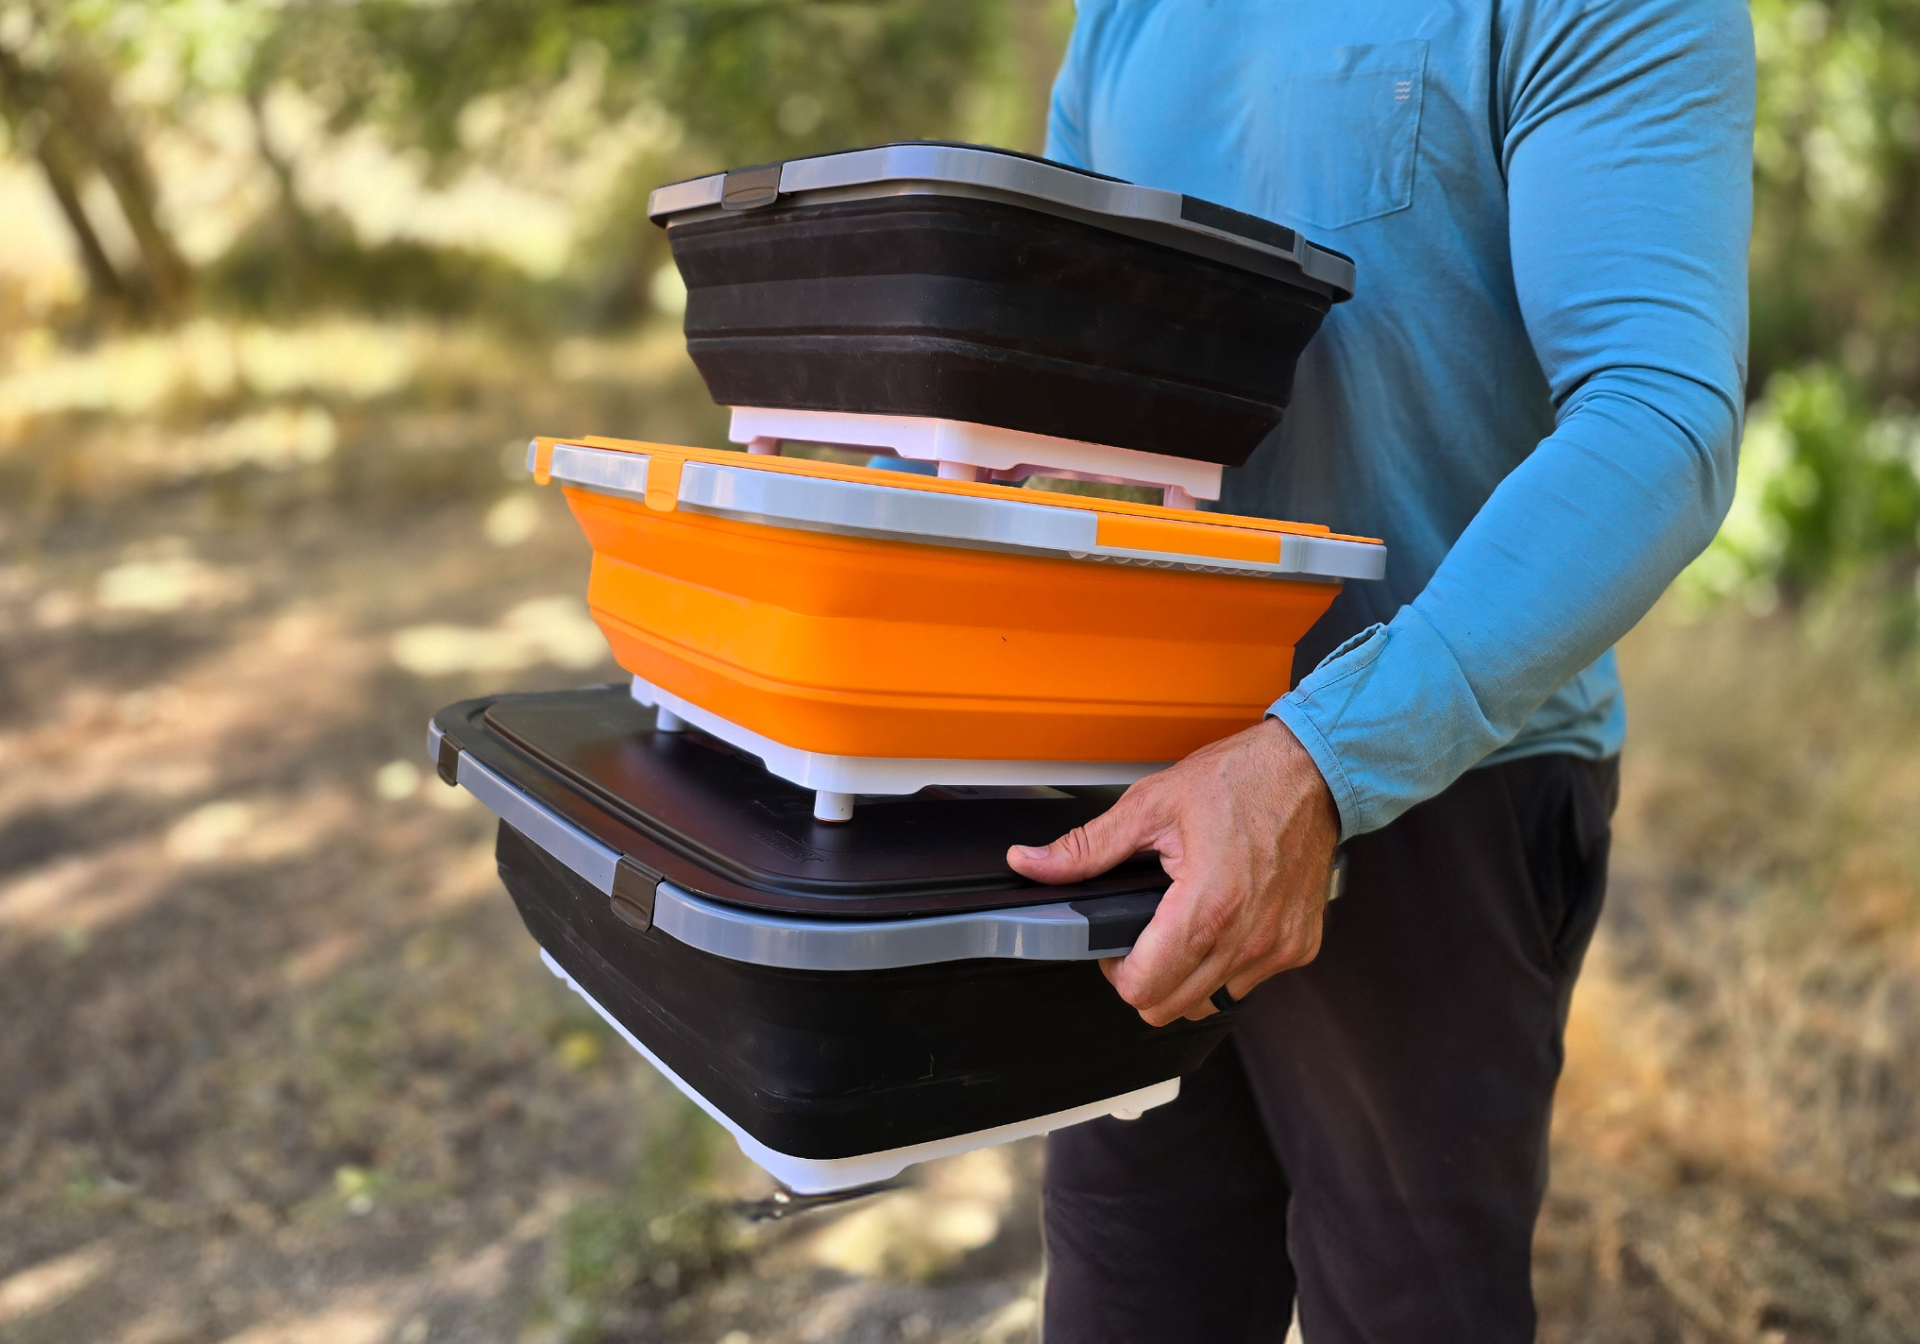
Trim your brisket on the Drip EZ Prep Tub. The raised edges keep all the fat and trimmings contained so you're not chasing scraps across the counter, and the built-in cutting surface gives you a stable platform for working around a large, unwieldy cut. Clean workspace, cleaner trim.
General rule: leave about ¼ inch of fat on the fat cap. Enough to baste the meat throughout the cook, not so much that it stays raw and greasy. Remove any hard chunks of fat that won't render down, and square up the edges so the brisket cooks evenly across the flat and the point.
Step 2: Low and Slow First — 180°F for 7 Hours
Once your brisket is trimmed and seasoned, it goes on the smoker at 180°F for 7 hours. This low opening phase is where smoke penetration happens. The cooler temperature keeps the surface of the meat moist and receptive to smoke for longer, which is how you build that deep smoke ring and complex flavor that separates a great brisket from a good one.
Don't rush this phase. The low temp isn't inefficiency — it's strategy.
Step 3: Bump to 250°F and Foil Boat at 175°F Internal
After the initial smoke phase, bump your smoker up to 250°F. From here you're monitoring internal temperature closely. When your brisket hits 175°F internal, it's time to foil boat.
The foil boat method is a deliberate choice over a full wrap. Here's the difference: a full wrap (butcher paper or foil) completely encases the brisket, which speeds up the cook and softens the bark. A foil boat folds foil up around the sides and bottom of the brisket but leaves the top exposed — protecting the bottom from drying out while still allowing the top bark to firm up and develop.
The result is a brisket that gets the moisture retention benefits of wrapping without sacrificing the bark you spent hours building. It's a best-of-both-worlds approach that more pitmasters are switching to.
Step 4: Finish at 275°F — and Use the Probe Test
Once the brisket is in the foil boat, crank the smoker to 275°F and hold it there until the brisket is done. But here's the thing — "done" isn't a temperature. It's a feeling.
Forget pulling at a specific number. Brisket is done when you probe it and it slides in smooth like butter with no give. That probe should glide through the thickest part of the flat with zero resistance — like pushing into warm butter. If you feel any tightness or resistance, it needs more time.
This is the part that trips up a lot of cooks. They pull at 200°F or 203°F because they read it online, but every brisket is different. Trust the probe, not the number.
Step 5: The Rest — The Most Important Step Nobody Talks About Enough
You nailed the trim. You built the smoke. You foil-boated at the right time and probed it to butter. And now — this is where most people blow it.
The rest is not optional. It is not a suggestion. It is the step that determines whether all that work pays off or gets thrown away.
When brisket comes off the smoker, the muscle fibers are still tense and the juices are pushed to the center of the meat. If you slice into it now, those juices run out onto the cutting board and you're left with dry, disappointing brisket. The rest gives the fibers time to relax and the juices time to redistribute evenly throughout the cut — so every slice is moist from edge to edge.
Here's the method: pull the brisket off the smoker and let it rest at room temperature for at least 1 hour before doing anything else. That initial room temperature rest is critical — it stops the cooking process. Too many people keep their brisket in a hot environment during the rest and it just keeps cooking, overshooting the mark on tenderness and turning into mush.
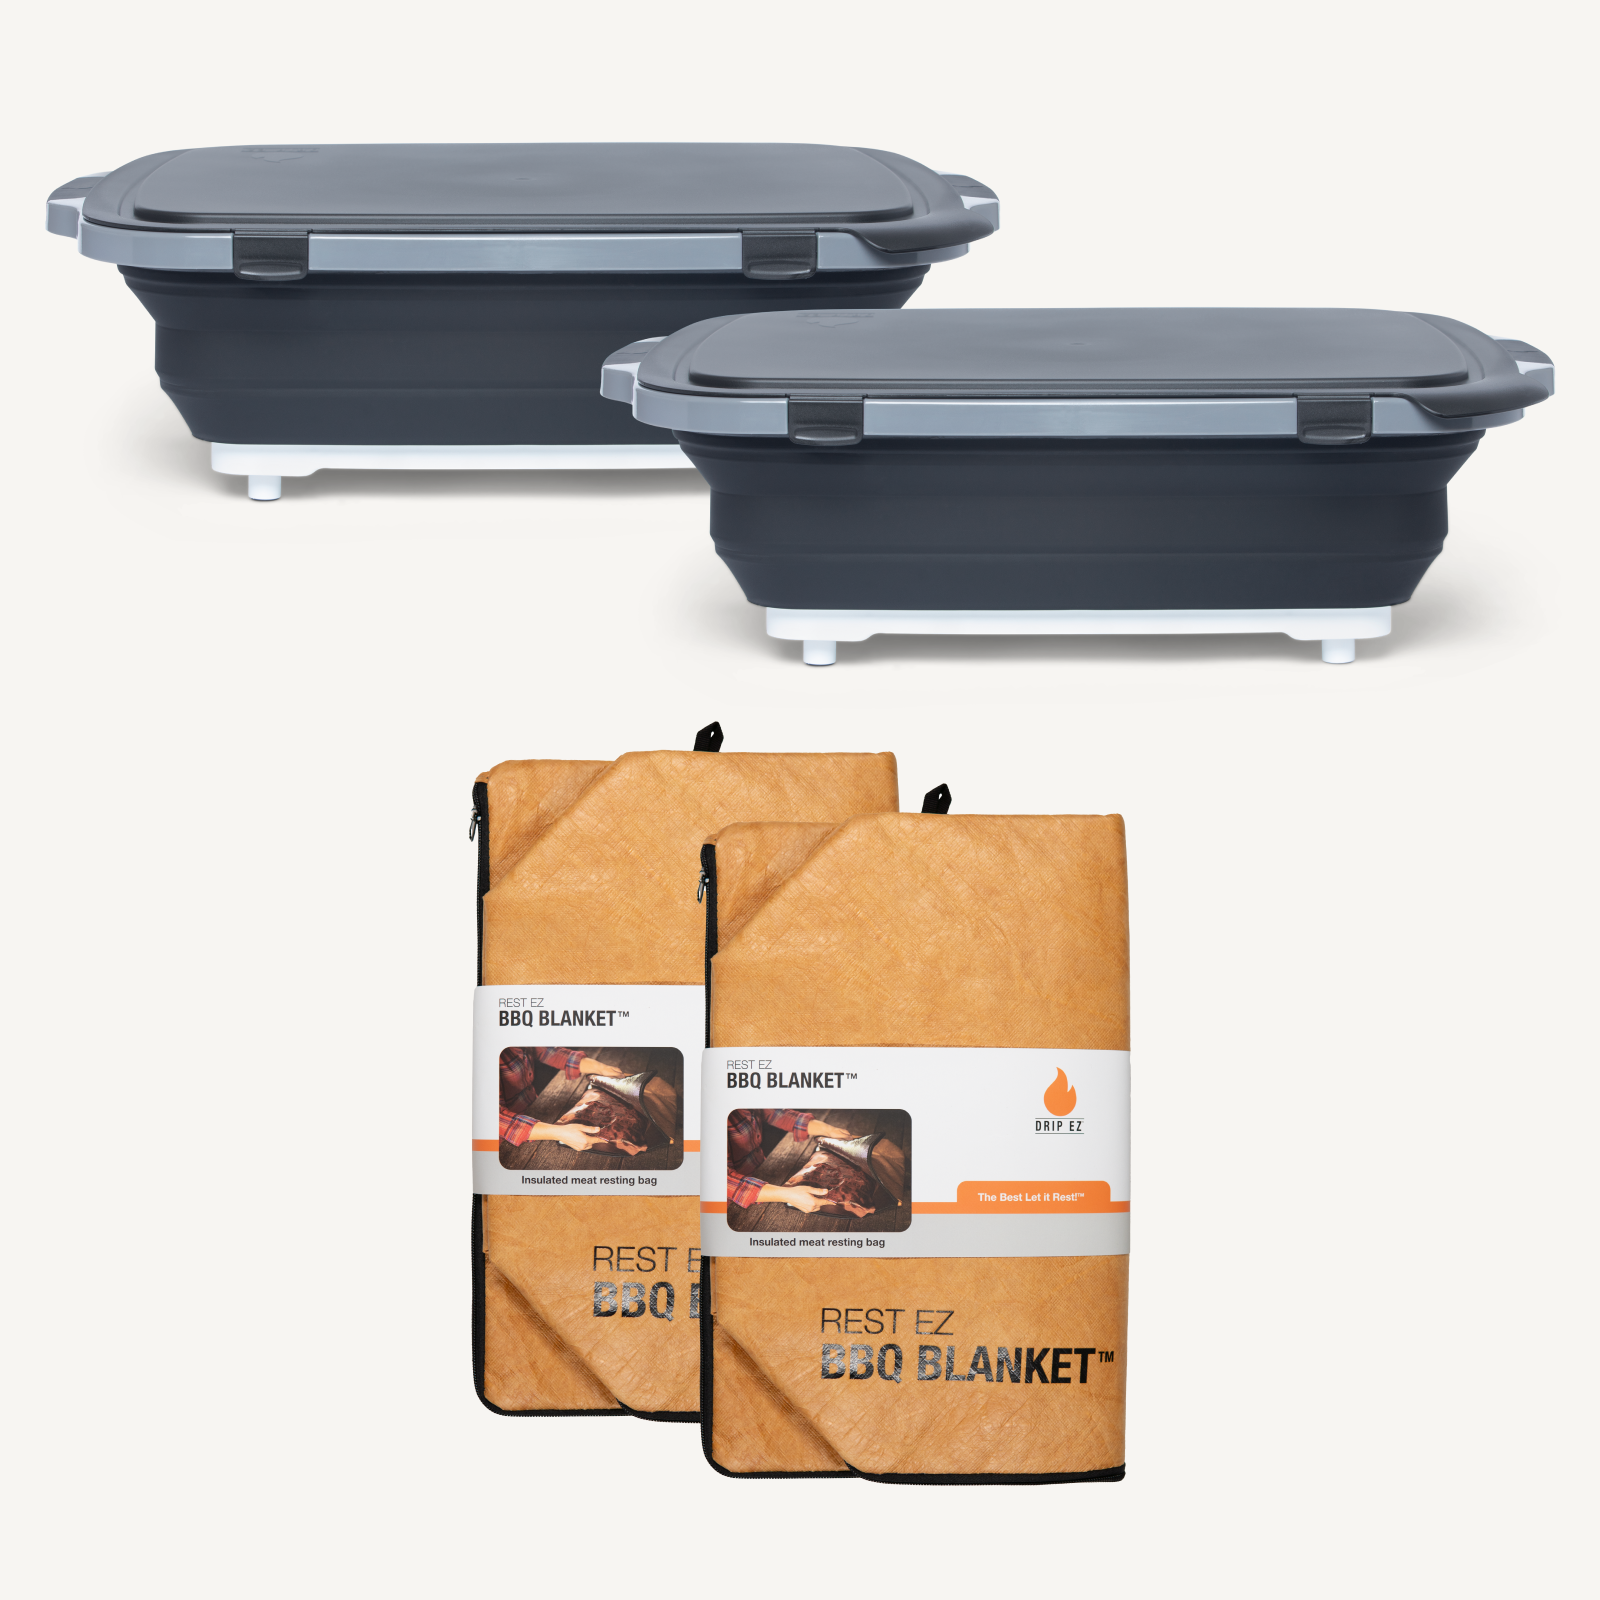
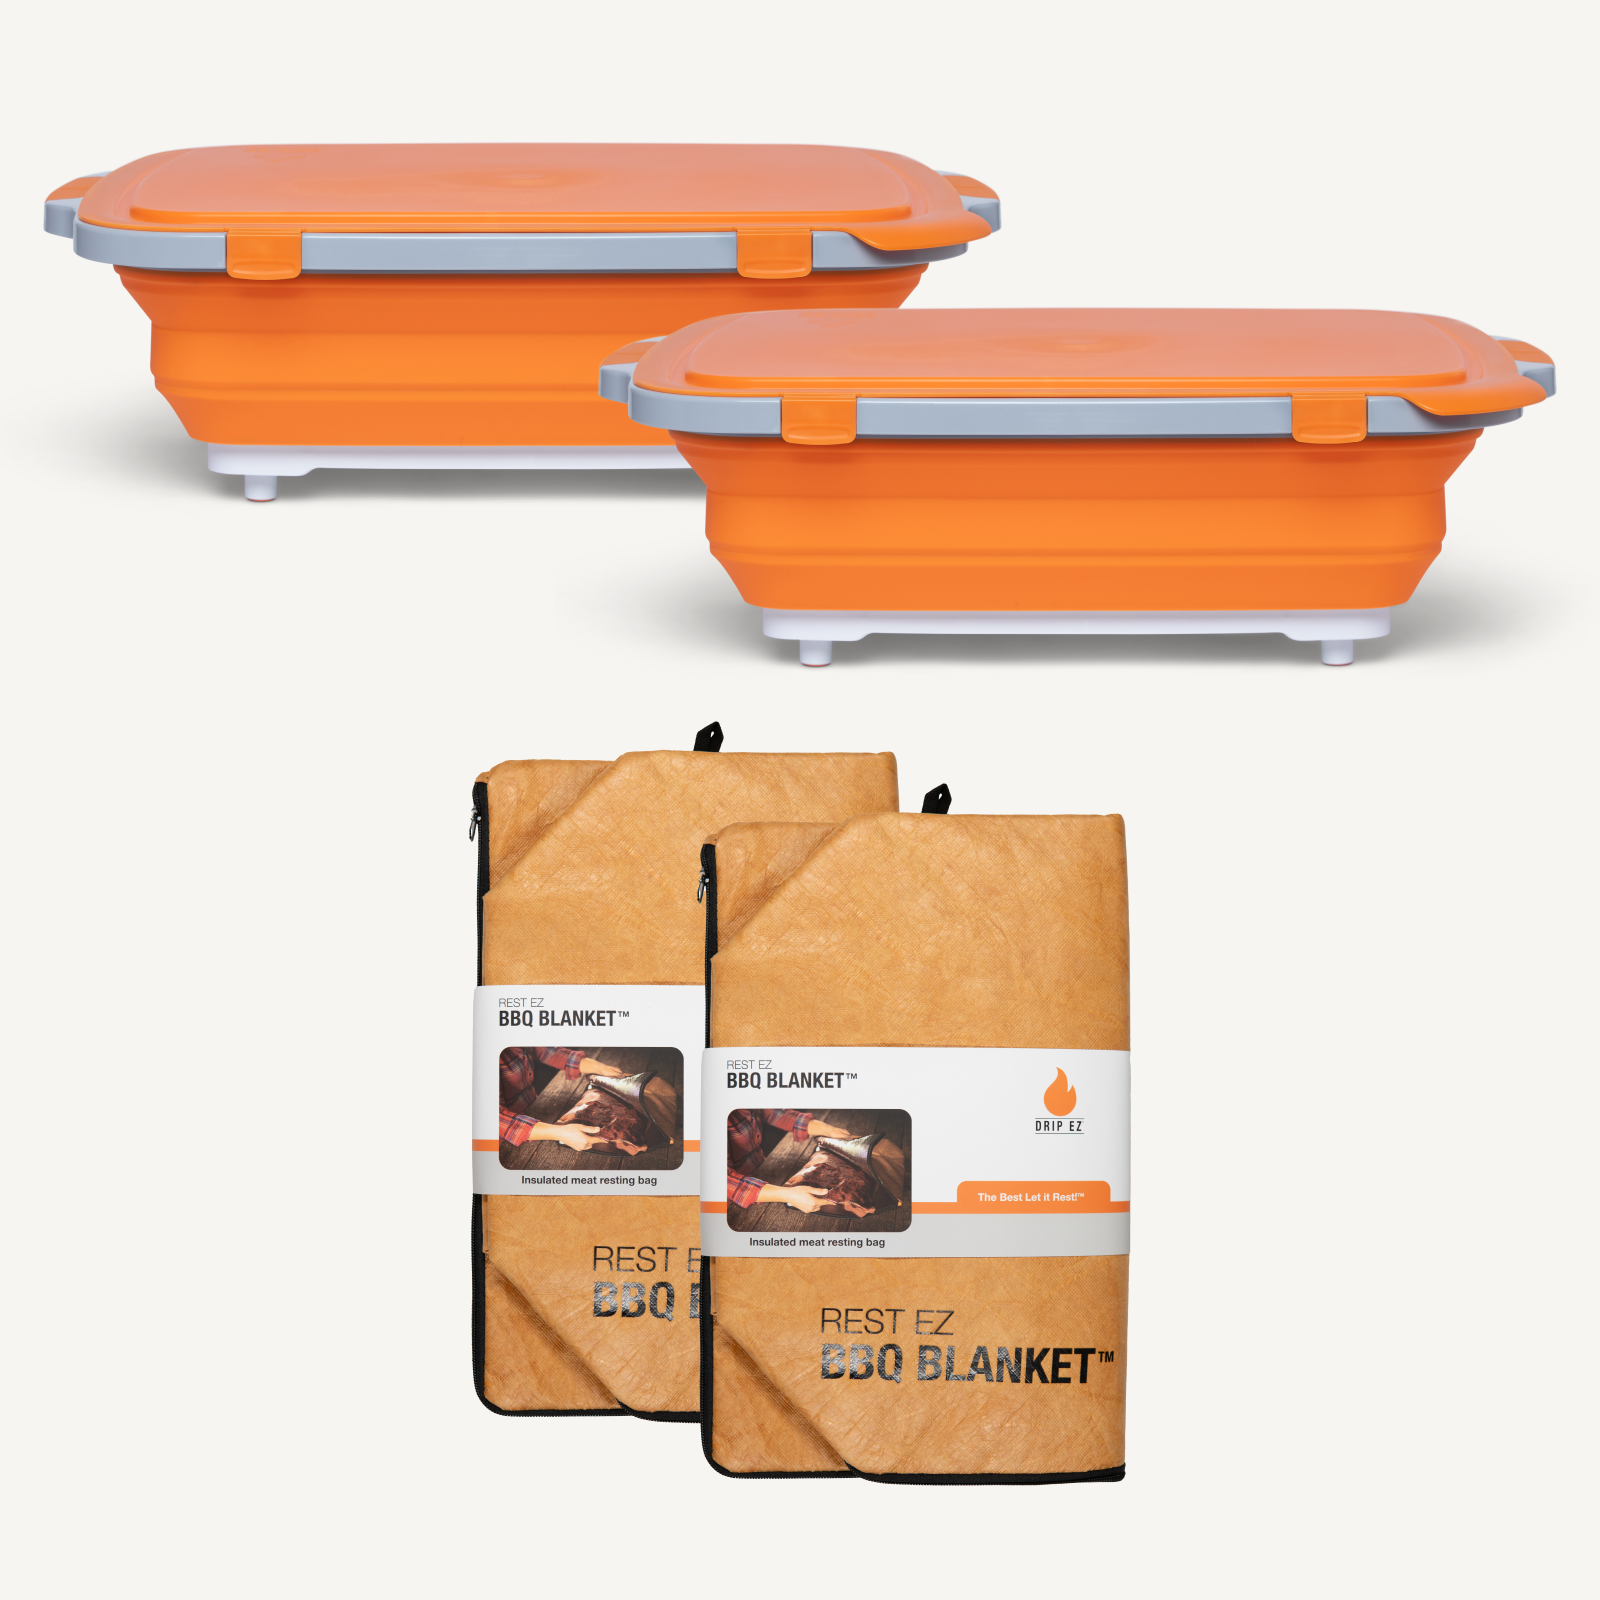
Wrap it in the Drip EZ Rest EZ BBQ Blanket to hold heat and lock in moisture without trapping steam that would soften your bark. The blanket is designed specifically for this — it insulates without cooking, keeping your brisket at the perfect serving temperature while it rests. Set it on the Rest EZ® 'Que Crib to keep airflow underneath and make the whole resting setup clean and stable.
One hour minimum. Two or three is even better if you have the time.
Step 6: Always Slice Against the Grain
The last place a brisket cook can go wrong — and it happens more than it should.
Brisket has long muscle fibers running through it, and if you slice with those fibers, you get long, tough, chewy strands that don't eat well no matter how perfectly you cooked the meat. Slice against the grain — perpendicular to those muscle fibers — and you're shortening them with every cut, making each slice tender and easy to eat.
There's also the added complexity that the grain runs in different directions on the flat versus the point. When you get to the point, rotate the brisket and adjust your slicing angle accordingly.
A sharp knife makes a real difference here. Use a proper slicing knife and let it do the work — sawing or pressing down compresses the meat and squeezes out moisture you just spent hours preserving.
Full Brisket Tips Summary
- Trim on the Prep Tub — contained workspace, leave ¼ inch of fat cap
- Smoke at 180°F for 7 hours — maximize smoke penetration and bark development
- Bump to 250°F — then foil boat when internal hits 175°F
- Finish at 275°F — pull when the probe slides in like butter, not at a specific temp
- Rest at room temperature for at least 1 hour — stops the cook, redistributes juices. Use the Rest EZ® BBQ Blanket and 'Que Crib
- Slice against the grain — always, and adjust when you move from the flat to the point
The Gear That Makes It Easier
Brisket is a long cook with a lot of moving parts. Having the right tools in place means one less thing to think about at each stage.
- Drip EZ BBQ Prep Tub — trim, season, and transport without the mess
- Rest EZ® BBQ Blanket — hold heat during the rest without continuing to cook
- Rest EZ® 'Que Crib — the perfect resting station that keeps your brisket elevated and stable
- BBQ Grill Mitts — handle a full packer brisket safely when it's coming off a hot smoker
Brisket has a reputation for being the hardest cook in BBQ — and it doesn't have to be. Follow each step with intention, don't skip the rest, and trust the probe over the thermometer. That's the method from @406_bbq, and it works.
Now go cook a brisket. 🔥