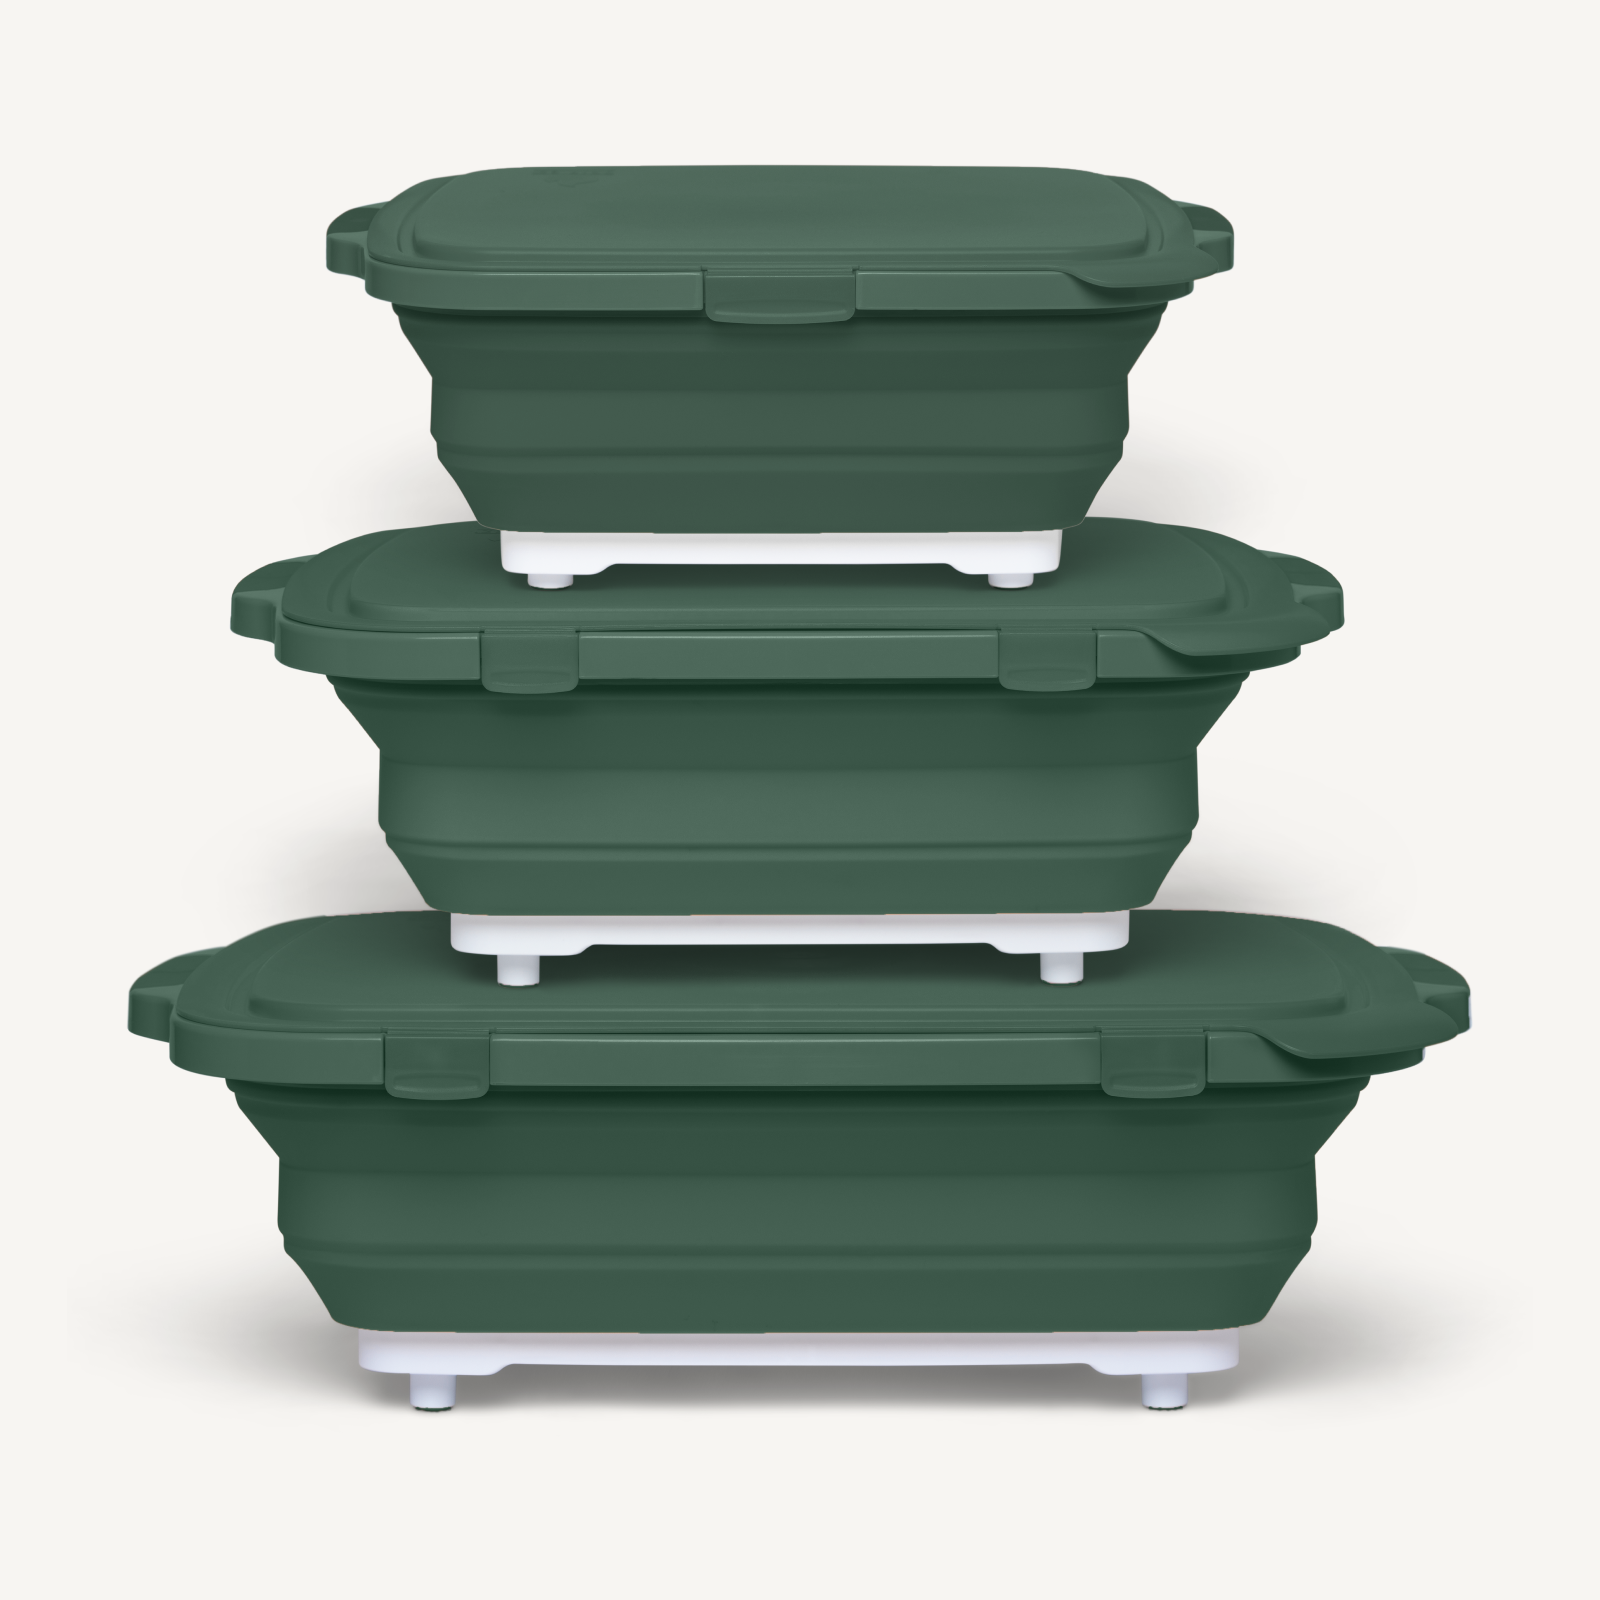
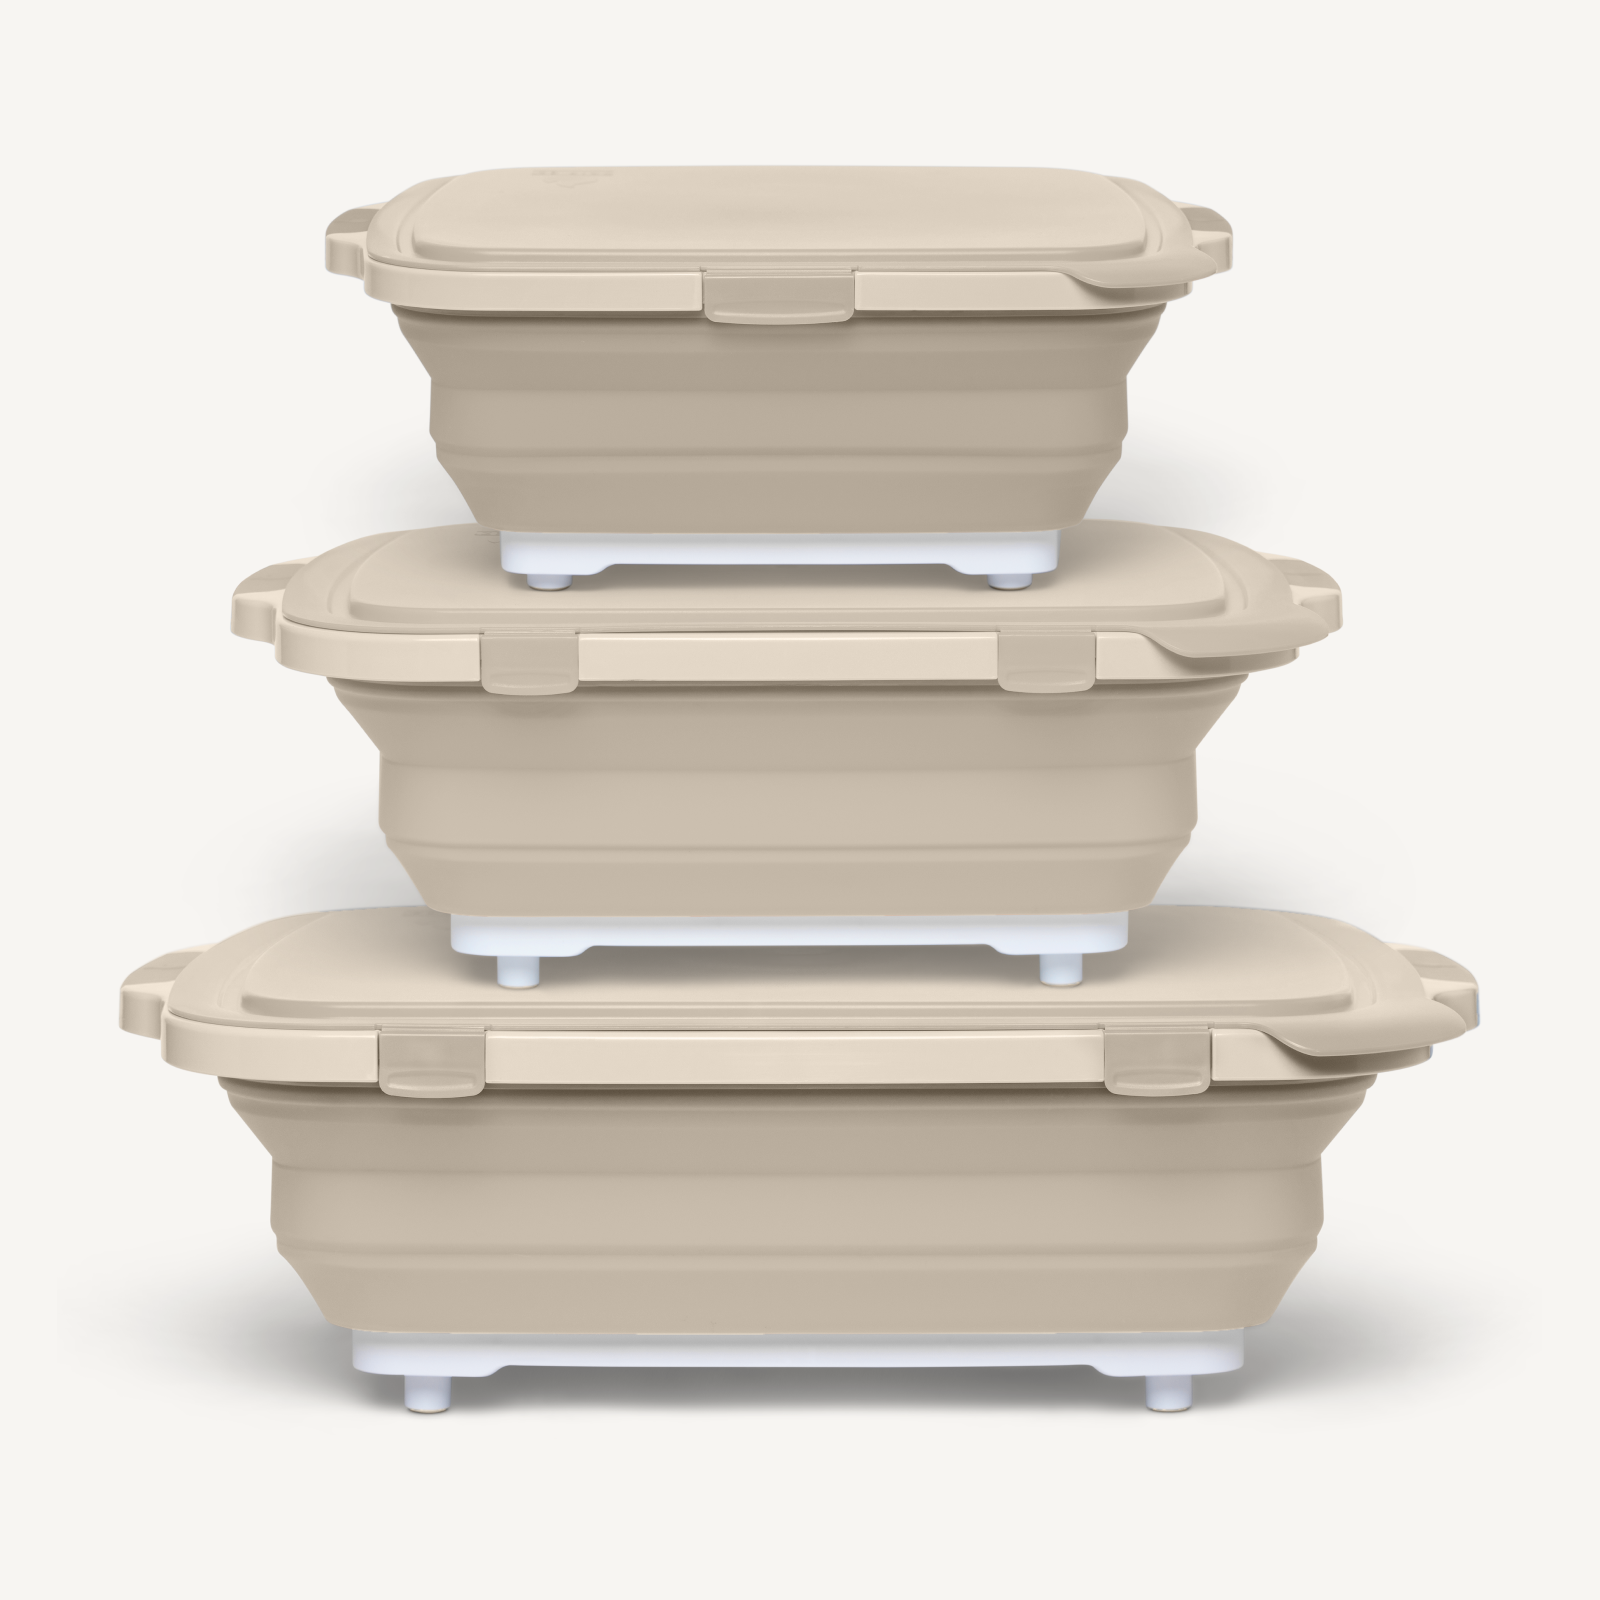
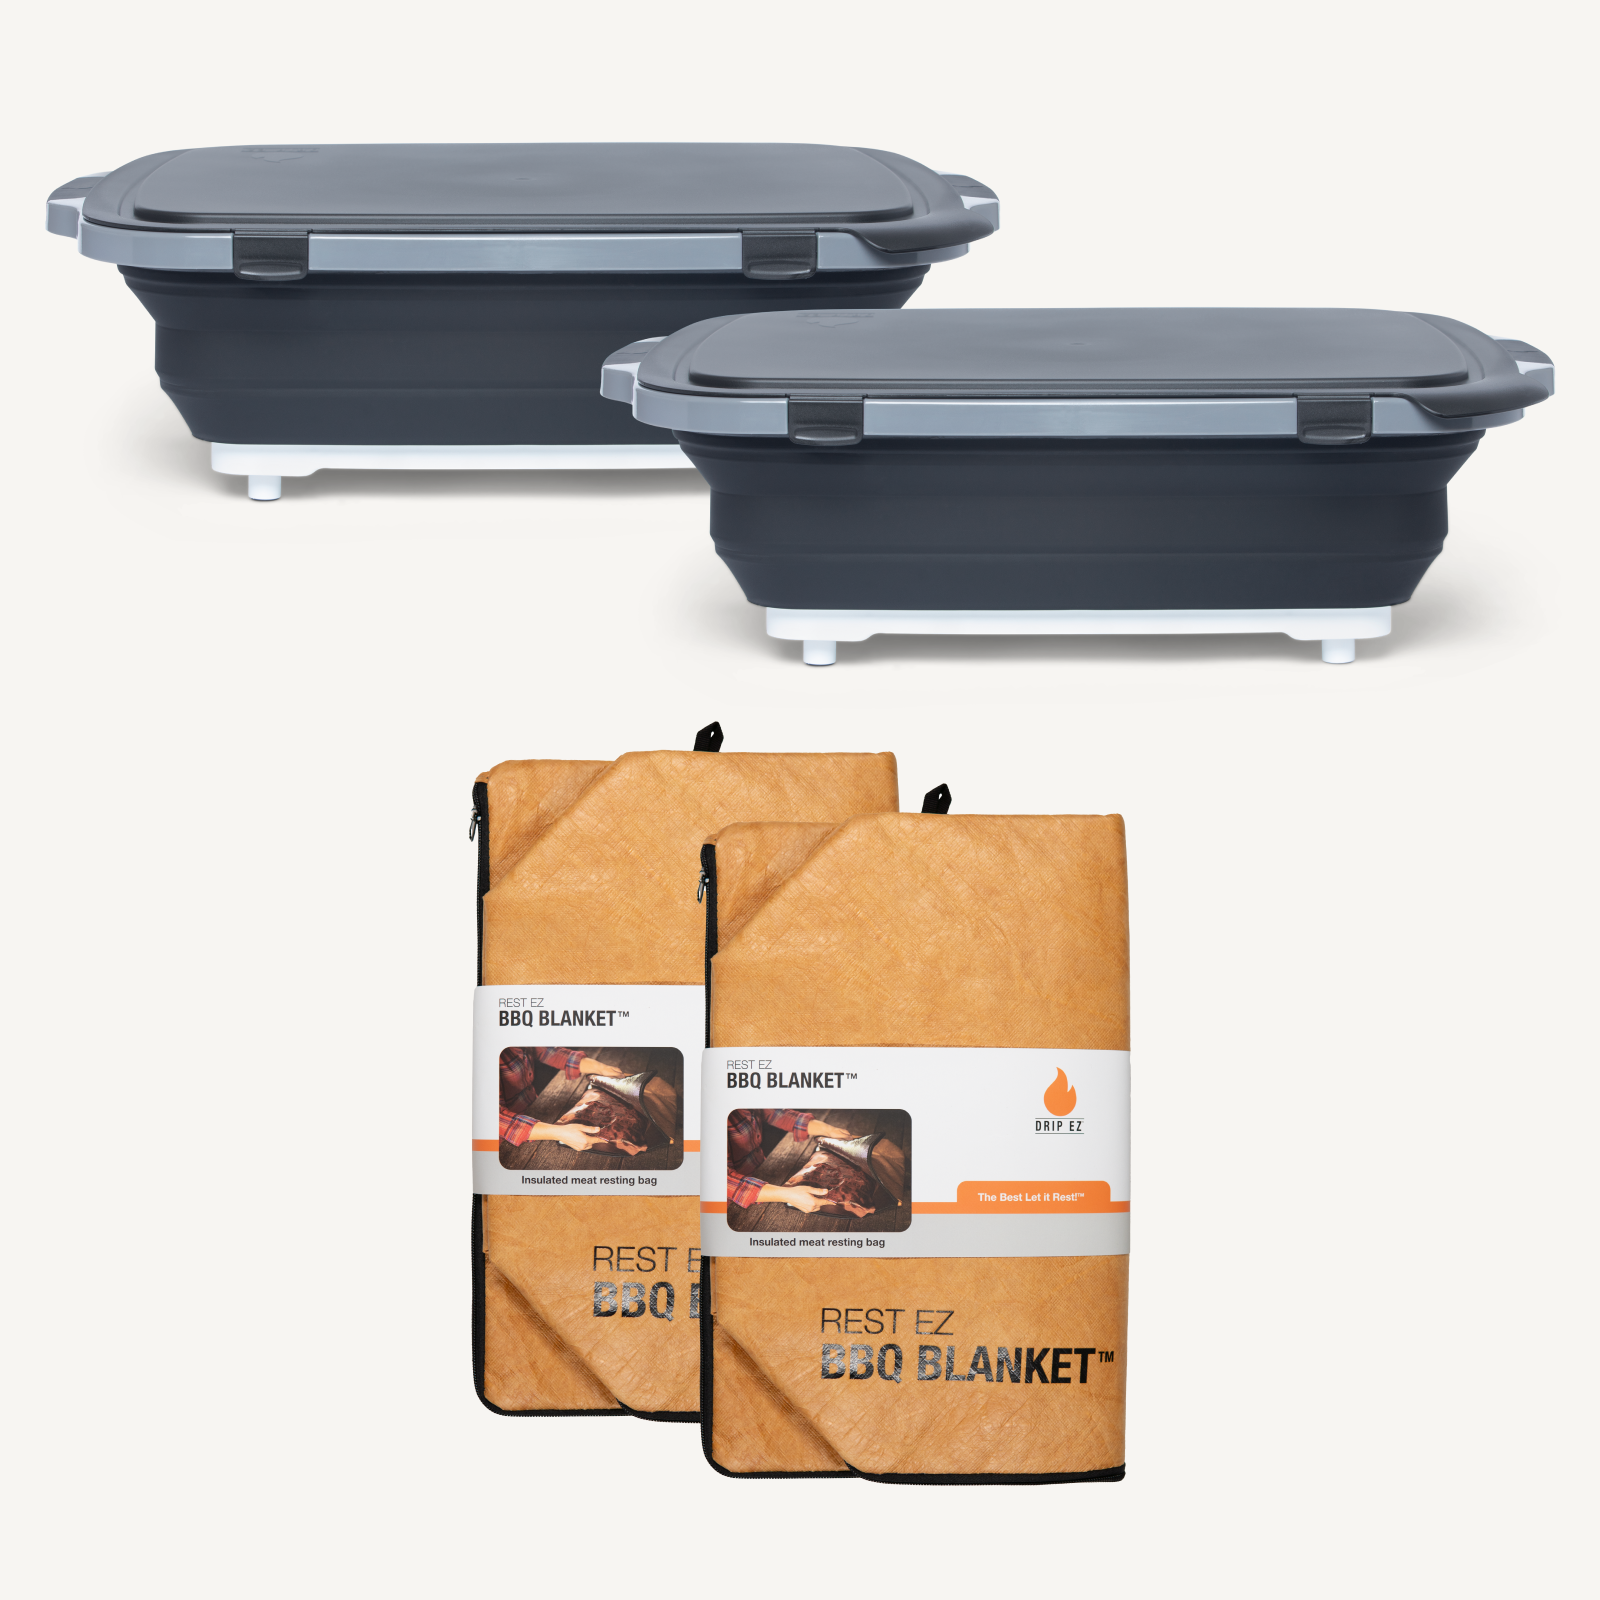
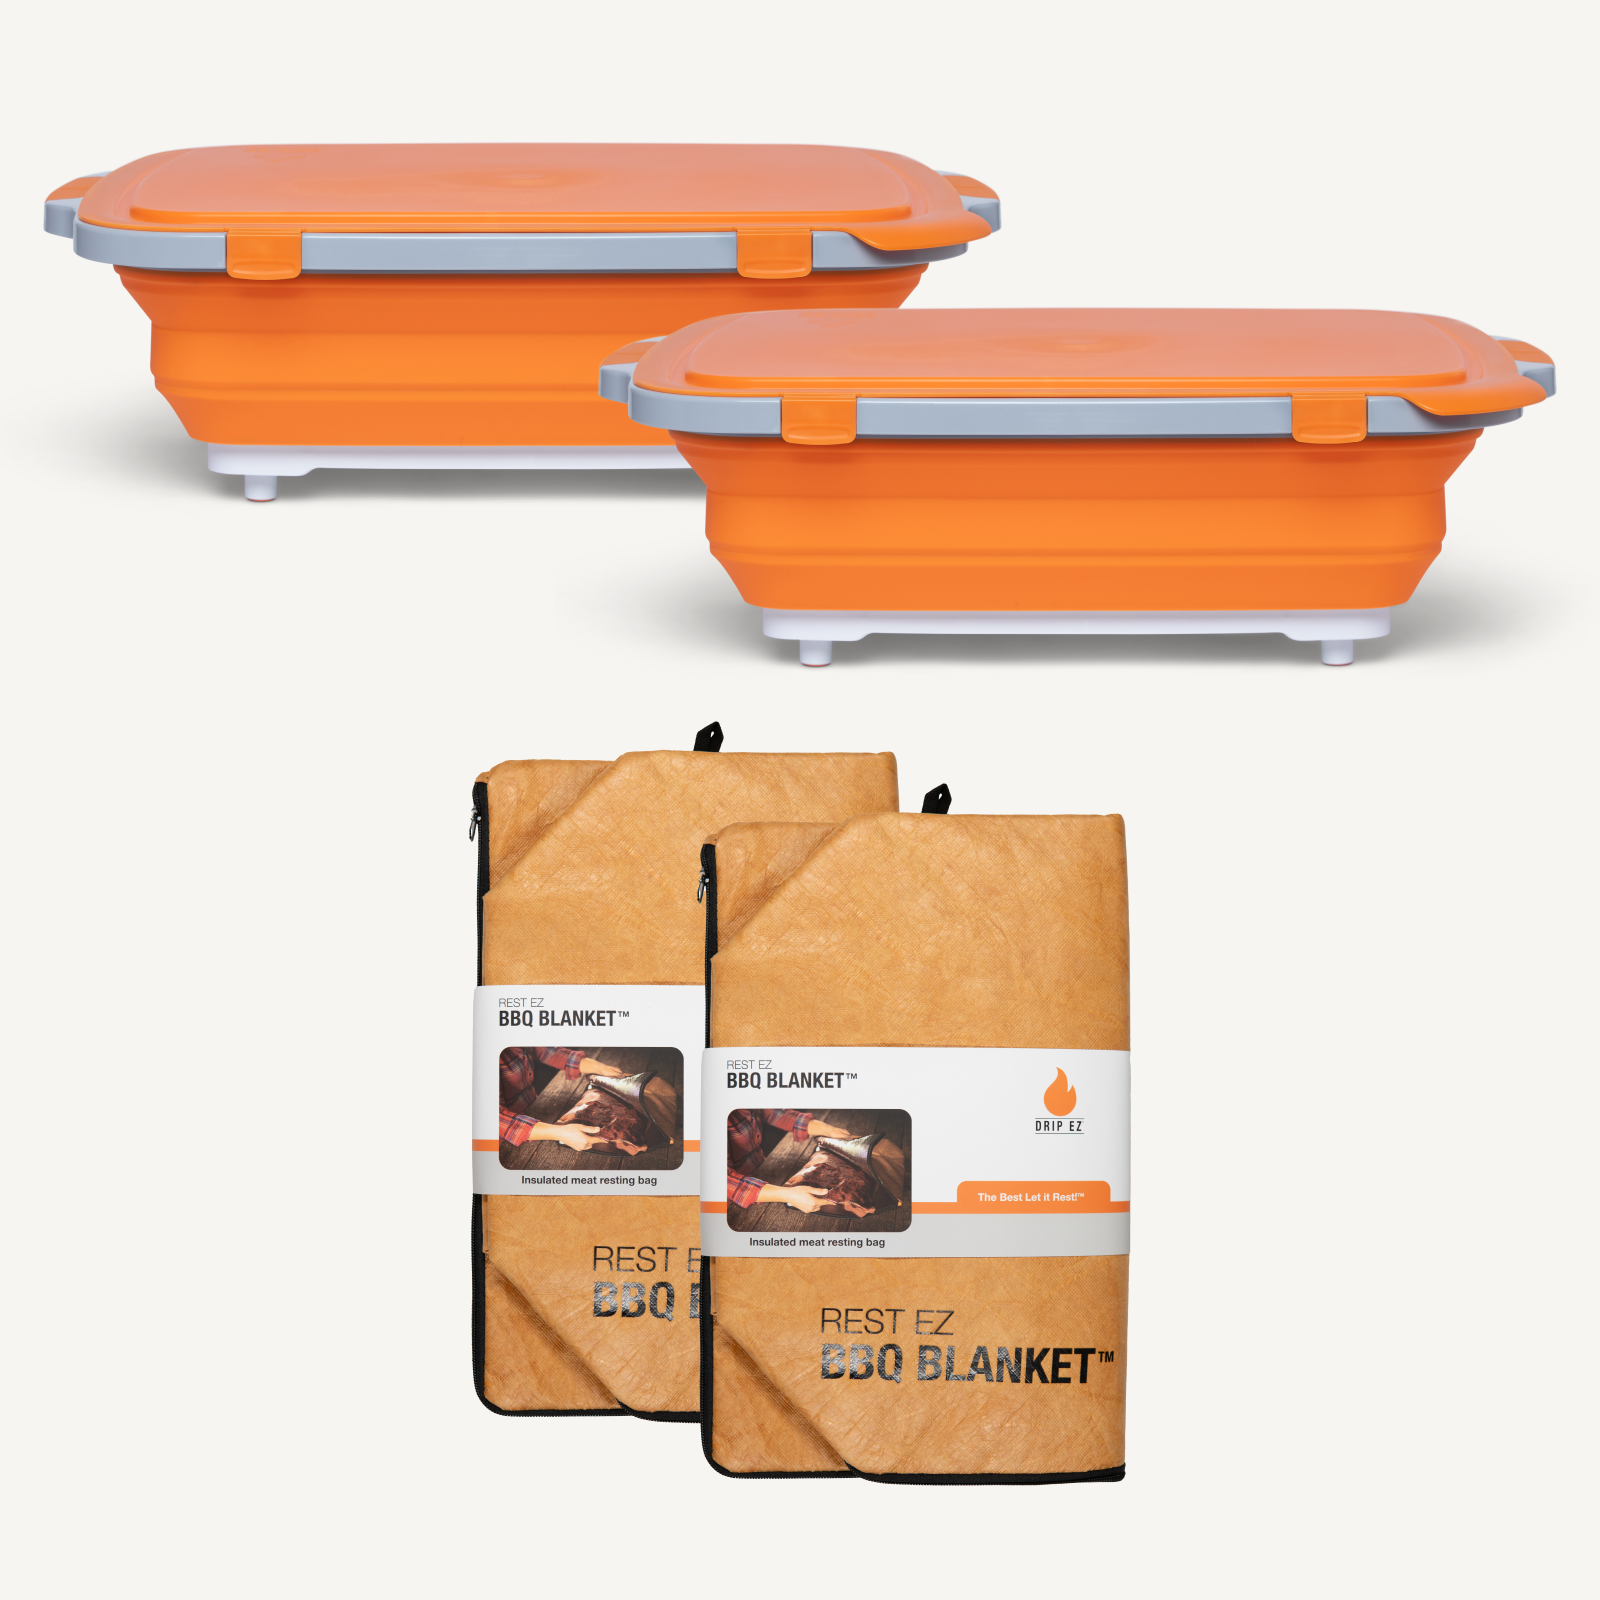
The Serve Up Blog
The Serve Up Blog

What Temperature Should You Pull a Brisket At?
We can picture it now: You pulled your brisket from the smoker at what you thought was the perfect temperature. You let it rest for hours. Now, after all that time, you’re seconds away from getting to try it. And then you make the first cut, and it cracks open like a dry piece of wood before a bonfire. Or, worse, it resists the knife like rubber. Some people say there are a lot of ways to get to Rome. We say there are a lot of ways to smoke a brisket. Foil boat or full wrap, 180°F or 225°F, post oak or hickory or whatever's stacked by the garage, good pitmasters disagree about the details. (Ahem, see Exhibit A and Exhibit B). But one thing is close to universal: the way a brisket should feel when it's ready to come off the smoker so you can avoid the horror stories and cook a buttery-smooth brisket that pleases everyone around the table. So what temperature should you pull it at? Most briskets finish cooking somewhere between 200 and 205°F. If you came here for a number, that's the number. You'll notice that's well above the 145°F the USDA sets for whole cuts of beef. A brisket passes safe hours before it’s good to go, so the temperature you're chasing has nothing to do with whether it's cooked and everything to do with whether it's tender. Which is why making brisket is both an art, and a science. A brisket isn't finished when it reaches a number on the thermometer. It's finished when its collagen has broken down into gelatin, and that takes both heat and time. That's why the same number gives you different results on different cooks. A thicker flat, a leaner grade, a hotter smoker, a longer stall: all of it changes how much breakdown happened within the meat. So use 200°F as your cue to start paying attention, then put the thermometer down and use your hands. The probe test Grab a probe. An instant-read thermometer, a skewer, whatever's clean and thin. Slide it into the thickest part of the flat. If it's done, it should go in like warm butter. No resistance, no push, and the probe just disappears into the meat. If it's not, you'll feel a tightness, a slight grab, and you'll have to press even a little to get through. That "even a little" might mean the brisket needs another forty-five minutes. Give it more time. Three other ways a brisket tells you it's ready The probe is the test, but once you've cooked a few of these, you start picking up on the rest. It jiggles. Pick up a finished packer and the whole thing moves like it's barely holding itself together. A stiff brisket is a tough brisket. The bark is set. Deep, dark, dry to the touch. If you can smudge it with your thumb, it needs more time. It's well past the stall. If your brisket has been parked around 165°F for three hours without moving, you're in the stall and nowhere near done. Once it climbs out and the temp starts running again, you're in the last stretch. If you miss, miss late Pull too early and you get a brisket that's tough and chewy no matter how long you rest it. Pull too late and you get the dry, crumbling flat, where slices fall apart on the board instead of holding together. (Which isn’t ideal, but chopped brisket sandwiches are a legitimate joy and nobody at your table is going to file a complaint). So if you have to guess wrong, guess long. Then get it resting Pulling at the right moment only counts if you rest it properly afterward. Give a packer 1 to 2 hours minimum, and build in a four-hour cushion if your timeline allows. Wrap it with our Wrap EZ heavyweight butcher paper, get it into a Rest EZ® BBQ Blanket, and let the fibers relax and the juices settle back through the meat before a carving knife goes anywhere near it. (We wrote a whole guide on how to rest your meat after smoking, because it's the step that arguably matters as much as the cooking). You already waited this long. Another few hours won't kill you. Ready to Cook a Better Brisket? From the trim to the rest, Drip EZ gear takes the mess and the guesswork out of the longest cook in barbecue. Shop the Brisket Setup →
Read more
The 3-2-1 Method for Ribs, Explained
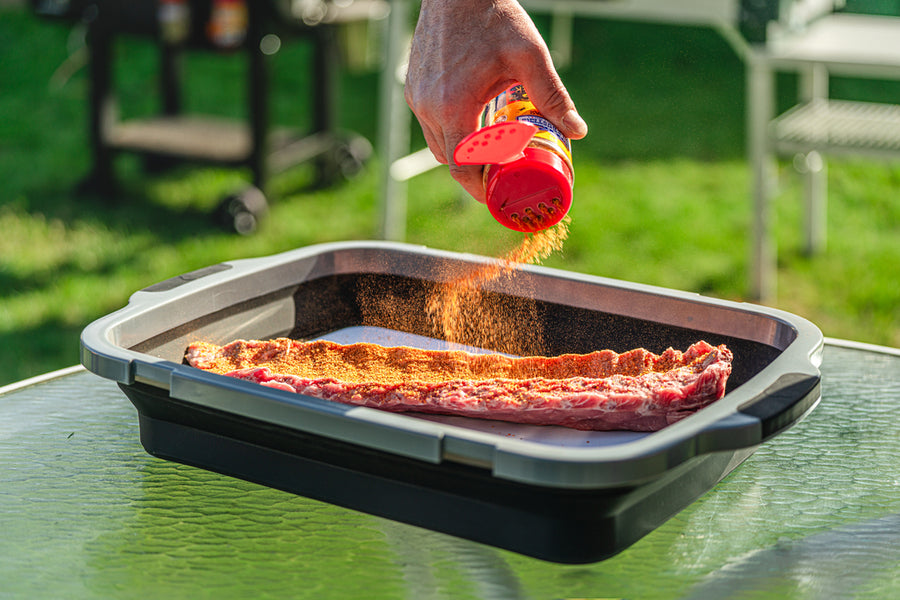
Ask the internet how to smoke ribs and you'll get the same three numbers back. Three hours of smoke, two hours wrapped, one hour sauced. It's the most-recommended rib method in barbecue, it's probably how you learned, and it's definitely how a lot of us learned. It also has a reputation problem, and you've likely heard that too. Somebody in a forum will tell you 3-2-1 makes mushy ribs that fall apart in the pan before they ever reach the plate. Somebody else will tell you it's the only method that's never failed them. They're both right, and the difference between them usually comes down to which ribs were on the grate. So here's what 3-2-1 actually does, who it's for, and how to know when you've outgrown it. So what is the 3-2-1 method? Kind of like us adults (you know… reaching our prime, hitting midlife, getting old), your ribs are going to go through three phases. Phase 1: Three hours, unwrapped. This is the smoke phase. The ribs sit naked on the grate taking on smoke and building bark, and your only job is to hold your temp and leave the lid alone. (If things look dry around hour two, a spritz of apple juice won't hurt anything.) Phase 2: Two hours, wrapped. Off the grate, into foil, with liquid. Apple juice, butter, brown sugar, honey, whatever your recipe calls for. This phase isn't smoking anymore, it's braising, and that trapped steam is what blows through the stall and makes your ribs tender. Phase 3: One hour, sauced and unwrapped. This last hour tightens the bark back up and sets the sauce into a sticky glaze instead of letting it slide off into the fire. It was built for spare ribs, not baby backs 3-2-1 was designed for spare ribs and St. Louis-cut racks, which are bigger, meatier, and fattier, with a lot more connective tissue to break down. Six hours is about right for them. Baby backs are leaner, smaller, and cook faster. If you put them on the full 3, 2, 1 schedule you'll get a rack that comes apart in the pan. So for baby backs, cut the foil phase in half. A full three hours of smoke, one hour in foil, one hour sauced keeps the bark you're building while getting the ribs out of the braise before they go soft. You'll also see 2-2-1 recommended, which takes the hour off the front instead. So is 3-2-1 the best way to cook ribs? It depends on the pitboss! This method, when done right, will help you land squarely in fall-off-the-bone territory. Most guests at a backyard cookout will tell you fall-off-the-bone ribs are the best ribs they've ever had. But competition judges don't favor fall-off-the-bone ribs and want more bite. What 3-2-1 gives you is consistency. So cook a few this way, then start adjusting. Other things to try Swap foil for butcher paper. Paper breathes where foil seals, so you keep far more of your bark. Our Wrap EZ heavyweight butcher paper is a good swap for this. Or just shorten the wrap. Ninety minutes instead of two hours, then an hour. You'll find your number faster than you'd think. Or skip the wrap entirely, if your ribs can take it. Our ambassador Erik Svendson's Iberico Baby Back Party Ribs never see foil, and that's a function of the pork, not a contradiction. Iberico is marbled enough that the fat bastes from the inside and does the wrap's job for it. Any one of those means you've stopped cooking to a clock, which means you need another way to know when they're done. How to tell when ribs are actually done Ribs are one of the few cuts where a thermometer won't help you much, which is why our resting guide lists them as "not temp-based." You're going by feel, same as you do with a brisket. (Speaking of which: here's how to know when to pull one of those.) The bend test. Pick the rack up with tongs about a third of the way down and let it hang. Done ribs bend to roughly a 45-degree angle and the surface cracks along the top. A rack that stays stiff needs more time. A rack that threatens to break in half has gone past bite and into fall-apart. The toothpick test. Slide a toothpick or a thin probe into the meat between two bones. Same feeling you're after with a brisket: it should go in like soft butter, with no grab. The pullback. Finished ribs have meat that's receded a quarter inch or so from the ends of the bones. Then let them rest (briefly) Ribs don't need the long rest a brisket does. Fifteen to thirty minutes is plenty, and a Rest EZ® BBQ Blanket will hold them right there while you get the sides finished and everybody to the table. Then pile them up, and hand somebody a napkin. Ready to Cook a Better Rack? Trim, season, and carry your ribs without redecorating the counter. Shop the Prep Tub →

How to Let Meat Rest After Smoking (And Why It's Worth the Wait)
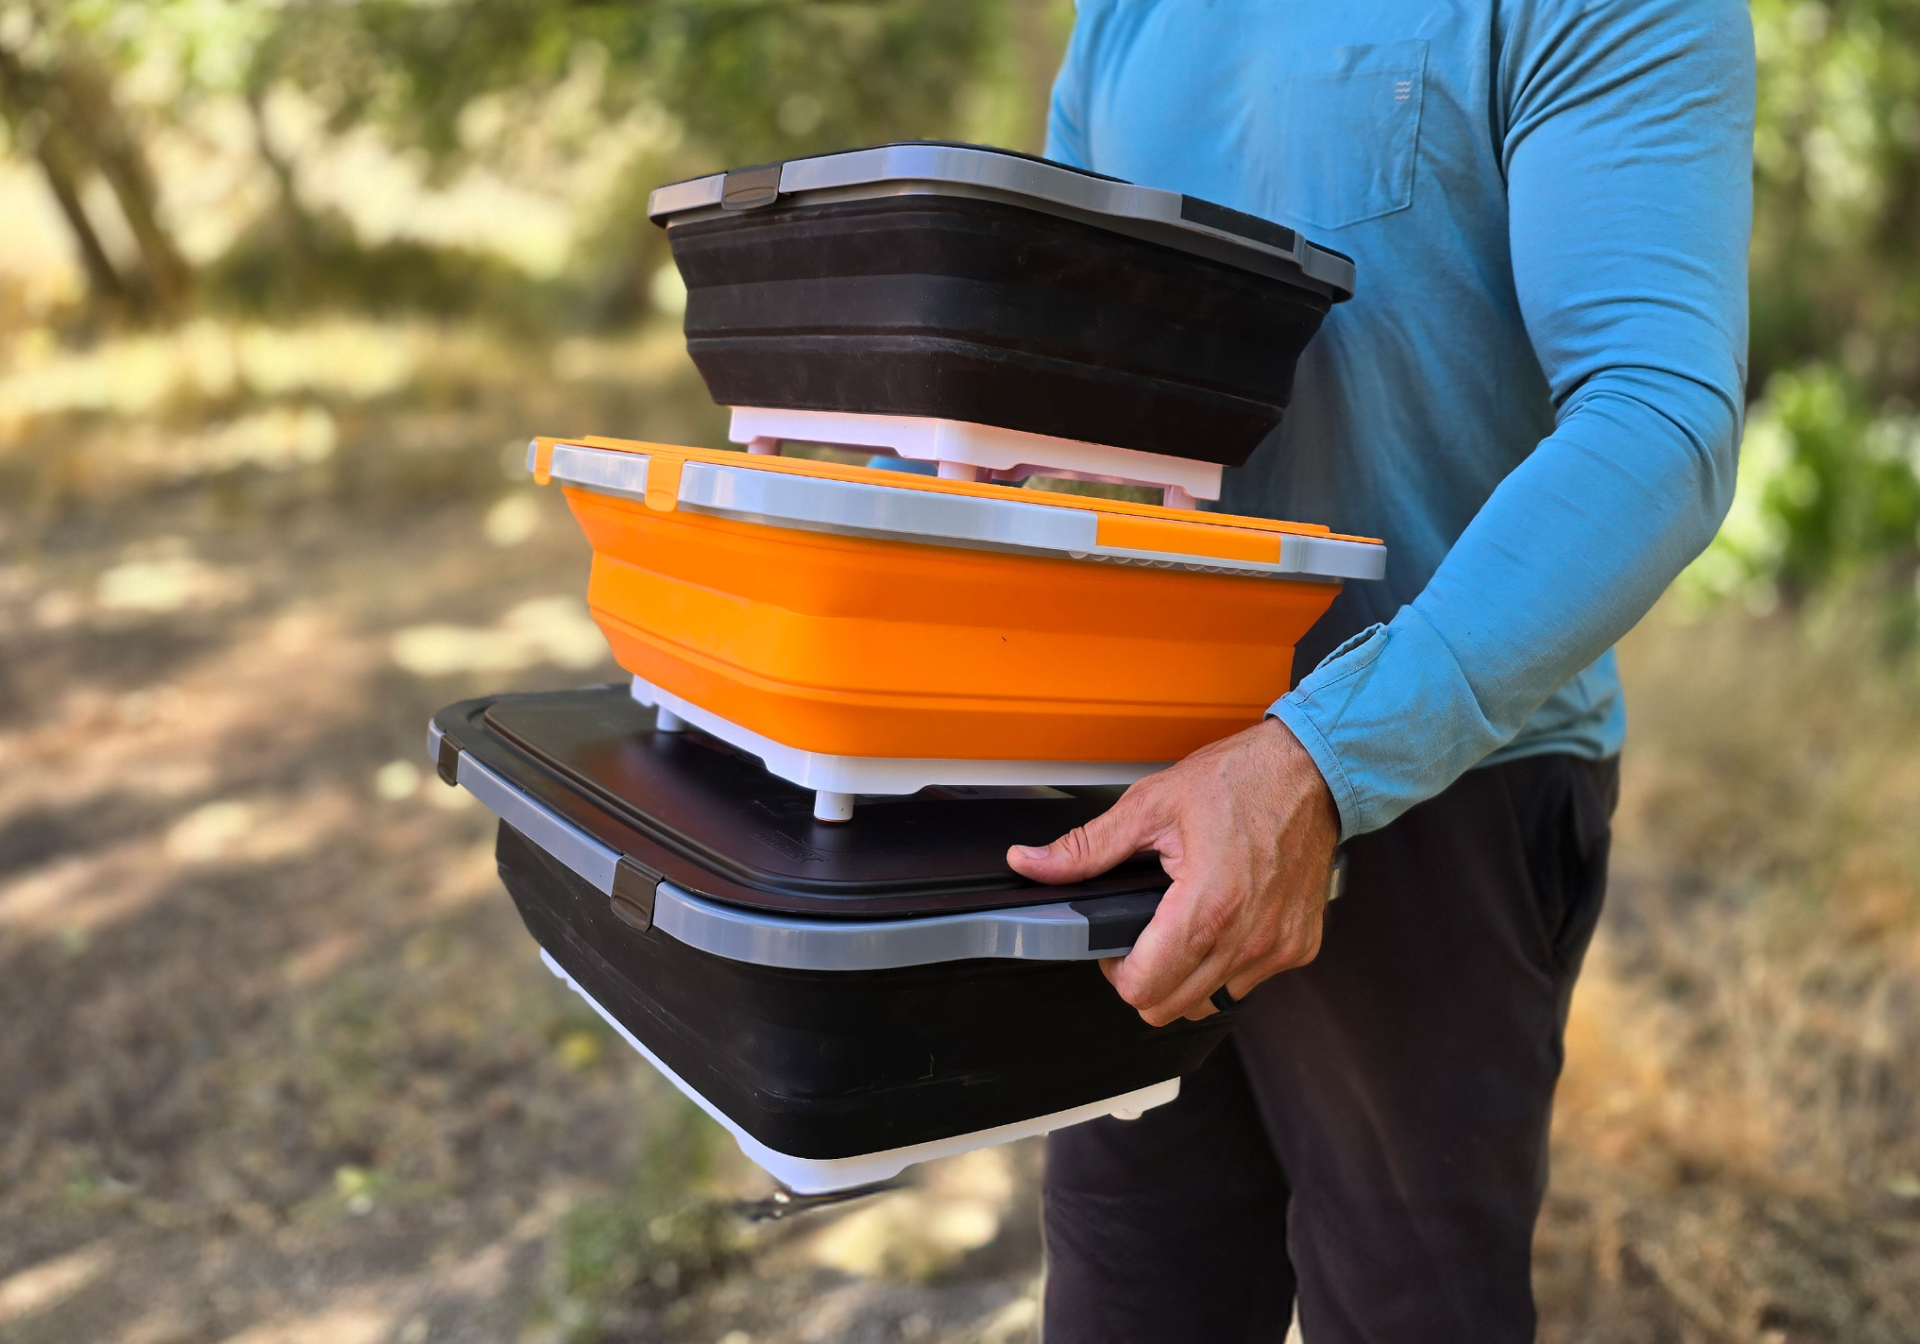
Time has never crept by slower than when you’re waiting for your meat to finish resting after smoking. After all that work, you’re ready to dig into that first bite and declare that first “mmmm.” And if you’re cooking for a crowd, there’s no doubt your hungry guests are eager to do the same. But, from our family to yours, we beg you: don’t cut into your meat too early. The difference between resting and not resting your meat is enough to make the wait worth it. (Don’t believe us? Check out this video where one of our ambassadors, pitmaster Nick “Heatstroke” Keith, shows us the difference). So here’s how to rest your meat properly after smoking. What's happening while your meat rests? When you cook a large cut low and slow, you're doing two things at once: breaking down collagen into gelatin and driving moisture toward the center as the muscle fibers tighten. But when you cut into it right off the smoker, all of that moisture you’ve built up has nowhere to go but onto your cutting board. That’s why a big puddle spreading out from the first slice actually isn’t a good thing. It’s a sign that the moisture is leaving the meat. Give it time instead, and the fibers relax, the gelatin thickens as it cools, and the juice that got pushed to the center redistributes back through the whole cut, leaving you with tender, juicy perfection How to rest your meat after smoking (step by step) Step 1: Wrap it. Use butcher paper or foil (paper breathes a little and protects your bark, while foil holds more moisture and softens the bark). Neither is wrong; it's a texture preference. Step 2: Into the Resting Vessel. This is where some people mess up: they do the classic towel-and-cooler method. We get it: there are some die-hard pitmasters who swear by the classic towel-and-cooler resting method. But the problem with it is (aside from it stinking up both your laundry and cooler) that the temperature tends to drop too quickly this way. We’ve tested it, and so have expert barbecuers like Erik Svendson. That’s why, for the best results, the best pitmasters we know swear by the Rest EZ BBQ blanket. It slows heat loss instead of stopping it, which is exactly what you want: a slow, controlled temperature descent rather than meat that either goes too cold on the counter or keeps cooking in a hot cooler. “We built the blanket because I was tired of tying up a cooler and a stack of towels every single cook,” Drip EZ CEO and founder David Barton said. “There had to be a better way to do the one step everybody skips.” Step 3: Set it in a Prep Tub. Technically, this step is optional, but we do it every time. A prep tub makes it easier to move your meat-baby, now wrapped in its blanket, from the deck to the kitchen counter, and when it's sitting in something with sides, the walls help provide further insulation while the meat rests. Step 4: Set your timer. The bigger the cut, the bigger the resting window. For example, two hours should be the minimum for a packer brisket or a whole pork butt, but we recommend building in a four-hour cushion if you can afford it. Pro tip: Pull your meat off the heat source 3 to 5°F below your target temperature to prevent overcooking while it rests. Cut Rest Time Internal Temperature Burgers 2-3 minutes 160°F Steaks and Chops 5-10 minutes 130°F medium-rare / 140°F medium / 160°F well-done Chicken 10-15 minutes 160°F breast / 175°F thigh Pork Loin or Roast 15-20 minutes 140–145°F Ribs 15-30 minutes Not temp-based Tri-tip 20-30 minutes 130°F Whole Turkey or Large Poultry 30-45 minutes 160-165°F breast / 170-175°F thigh Brisket 1-2 hours minimum 200–205°F Pork Butt/Shoulder 2-5 hours 190-205°F pulled / 180-185°F sliced Please note: If you're holding for three or four hours, or resting two cuts at once, the Rest EZ 'Que Crib Meat Resting Station is a great upgrade to consider. It's a dedicated insulated resting station with locking latches and a heat-trapping interior, so it’s roomy enough for two XL Prep Tubs. One thing to watch: keep it above 140°F Remember: the USDA danger zone is 40°F to 140°F, which is the range where bacteria multiply quickly. Cooked meat shouldn't sit in that window for more than two hours total. A long rest is safe as long as your meat stays above 140°F the whole time. So if you're resting a brisket for four hours to feed a crowd, put a probe in it and actually watch the number. When the internal temp gets near 140°F, it's time to slice and serve. Then, finally, slice it Ahh, now the good part: time to slice and serve. Remember to cut against the grain. (If you need a good carving knife, check out this one). If you did the rest right, the cutting board should stay mostly clean, and the juice should stay in the meat. Enjoy! Ready to Rest Like a Pitmaster? The Rest EZ BBQ Blanket takes the guesswork out of the most overlooked step in barbecue. Insulated, heat-reflective, wide-mouth, and easy to wash. 🛒 Shop the Rest EZ BBQ Blanket →

7 Grilling Mistakes Beginners Make (And How to Stop Making Them)
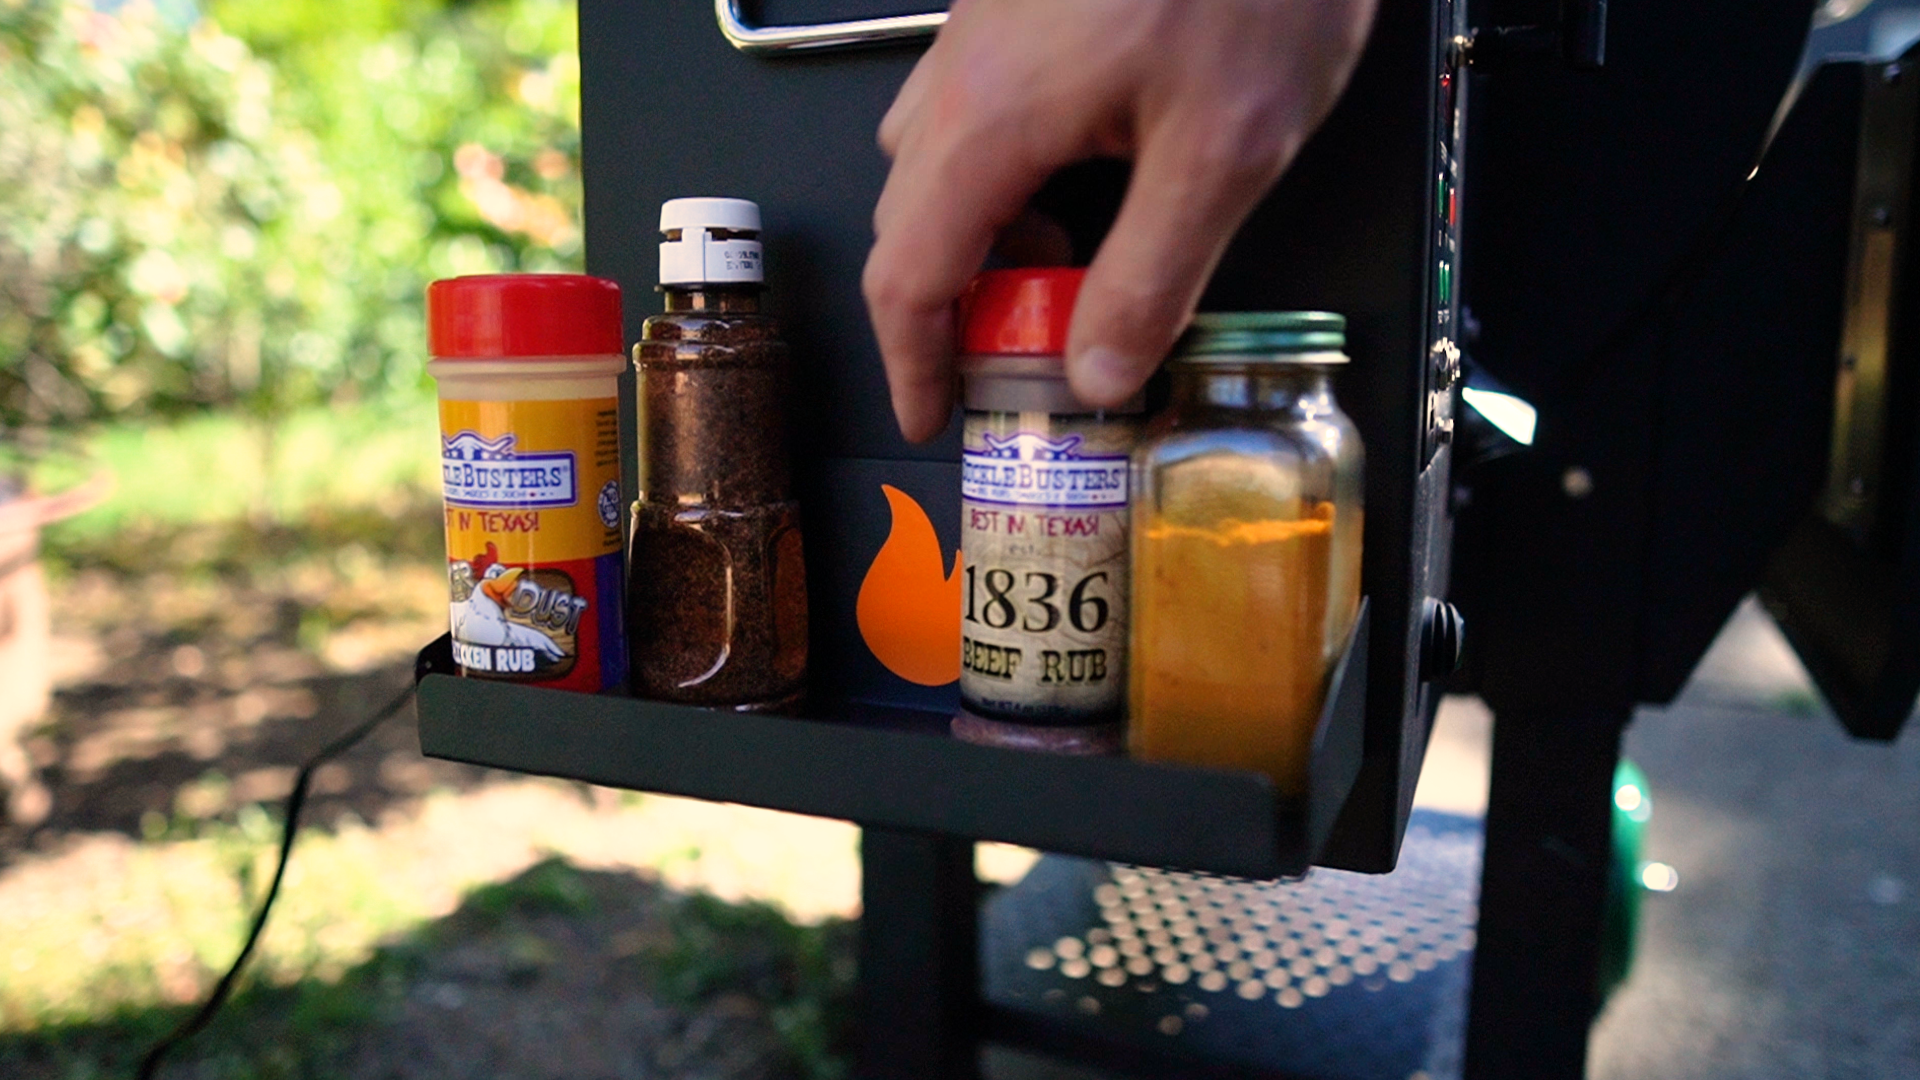
Everyone who's good at grilling now was, at some point, standing over a grate full of chicken that was black outside and pink inside, wondering where it all went wrong. We've been there. Our founder has been there. The pitmaster you follow on Instagram has absolutely been there… they're just not posting about it. So here are the seven mistakes we see beginners (and, let’s face it, even experienced grillers) make most often. Fixing them will make you noticeably better by your next cookout. 1. You're not preheating long enough Throwing food on a lukewarm grate is the number one reason it sticks. Cold protein hits metal that hasn't come up to temperature and bonds to it, which is why half your burger stays on the grill when you flip it. The fix: Give a gas grill about 10 minutes before you cook. If you're on charcoal, let the coals go in a chimney starter for 15 to 20 minutes. Lid closed, the whole time. It feels like a long time to stand around doing nothing. Do it anyway. 2. You're cooking on last weekend's grate Old grease and burnt-on bits aren't seasoning, no matter what your uncle told you. They make food stick, they cause flare-ups, and they give everything a faint taste of whatever you cooked two weeks ago. The fix: Scrape the grate while it's warm, every single time. It takes thirty seconds. And if you're running a pellet grill, this is also your reminder that the drip bucket is not self-cleaning; a liner turns that particular chore into a ten-second job instead of the thing you keep not doing. 3. You've only got one heat zone This is the mistake that separates people who can grill burgers from people who can grill anything. If every burner is on high, or your coals are spread flat across the whole bottom, you have exactly one setting: full blast. That's fine for a thin burger, but it’s a disaster for a bone-in chicken thigh, which will char on the outside while staying raw at the bone. The fix: Bank your coals on one side, or run one side of a gas grill high and leave the other off. You end up with a sear zone and a finish zone, and you move food between them as it cooks. Two minutes of setup, and suddenly you can cook things that aren't flat burger patties. 4. You keep flipping meat and opening the lid Every time you lift that lid to check on things, you dump your heat and reset your cook. It's the grilling equivalent of opening the oven every four minutes to look at a cake. The lid isn't a lid, it's part of the cooking system. Closed, and your grill is an oven with a convection current. Open, and it's a campfire. The fix: Pick a number of times you're allowed to look and stick to it. And resist the urge to flip constantly while you're at it — barbecue legend Mike Mills says the two most common mistakes he sees are fires that run too hot and meat that gets turned too many times, because all that turning dries things out. Let it sit. Let it sear. It'll release from the grate on its own when it's ready. 5. You're saucing way too early You know that black, bitter, ashy crust that shows up on grilled chicken? That's not char. That's sugar that's been burning for twenty minutes. Sugar starts burning around 265°F, so if you sauce your chicken at the start of a 30-minute cook, the sauce caramelizes, then chars, then turns into a bitter mess long before the meat is actually done. The fix: Sauce only in the last 5 to 10 minutes. Long enough to get tacky and glossy, not long enough to burn. For the rest of the cook, get your flavor from a dry rub instead. DB's Original won't burn on you. 6. You're guessing instead of measuring Poking the meat and nodding is a party trick, not a doneness test. Color lies. Firmness lies. The little chart printed on the tongs lies. The fix: Buy an instant-read thermometer. They're cheap, they take two seconds, and they're the single fastest way to stop serving food that's either raw or ruined. (We keep a full temperature chart in our resting guide if you want the numbers in one place.) While you're at it: use tongs or a spatula, not a fork. Every time you stab a piece of meat, you're letting juice out. 7. You're not resting it You did everything right, and then you cut into it thirty seconds after it came off the grate, and now there's a puddle on your cutting board and a dry piece of meat on your plate. Resting isn't the cooldown; it’s the last step of the cook. The muscle fibers relax, and all that moisture that got driven toward the center redistributes back through the whole cut. The fix: If you're currently resting meat under a pile of pool towels in a beer cooler, the Rest EZ® BBQ Blanket was built specifically to retire that system. We wrote a whole guide on resting, because it's the step most people skip and the one that changes the most. If you do anything, do this Preheat all the way, scrape the grate, set more than one heat zone, leave the lid alone, sauce late, use a thermometer, and let it rest. Get those seven grilling mistakes right, and most of the other problems will sort themselves out. Now go make something good! Shop BBQ Essentials →

How to Smoke a Brisket: Tips and Tricks from a Pitmaster
Drip EZ ambassador @406_bbq breaks down his proven brisket tips and tricks — from the trim and low smoke to the foil boat method, probe test, and the rest that most people get wrong. Master your brisket cook with this step-by-step guide.

Red Wine Marinated Steak: How to Get Tender Steak Every Time
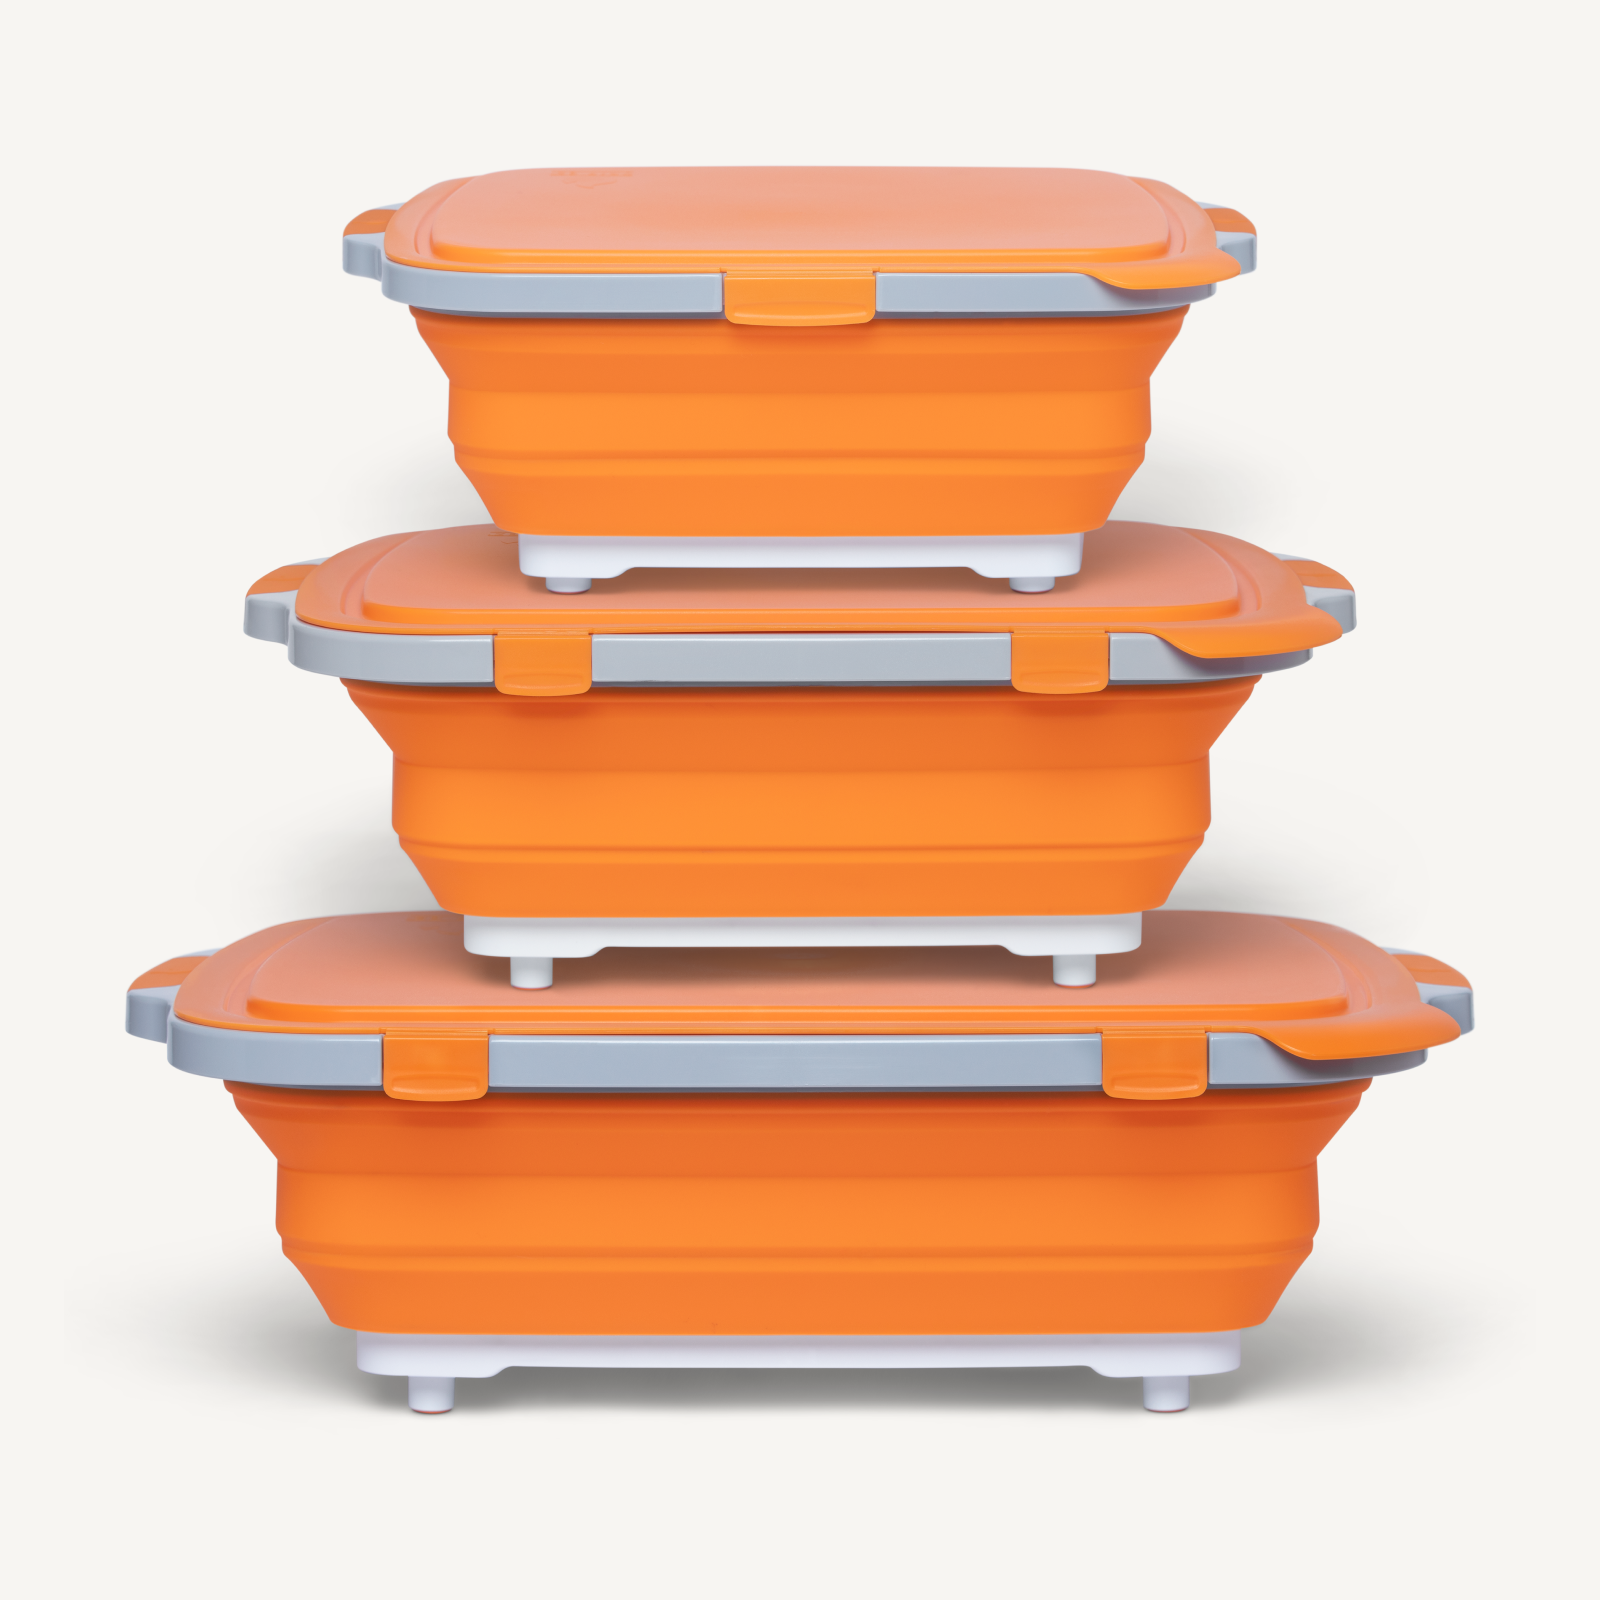
Let’s be honest—steak night hits different… until you see the price per pound. But here’s the move: stop chasing the most expensive cut and start cooking smarter. Because with the right technique (and a little red wine), you can turn a tougher, budget-friendly steak into something that eats like it came straight out of a steakhouse. This is how you level up steak night without blowing your grocery budget, thanks to @kandbcooking. The Problem: Tough Cuts, Tight Budgets We’ve all been there—standing in the meat aisle, debating if that ribeye is really worth it. Meanwhile, cheaper cuts like flank, sirloin, or chuck are sitting right there… but you already know the risk: Chewy texture Less flavor Easy to overcook So most people skip them. That’s the mistake. The Fix: A Red Wine Marinade That Does the Heavy Lifting A good marinade doesn’t just add flavor—it changes the structure of the meat. Red wine is doing three important things here: Tenderizing tougher muscle fibers Infusing deep, rich flavor Setting you up for a next-level pan sauce This isn’t just a soak. It’s strategy. Simple Red Wine Marinade 1 cup red wine 2–3 cloves garlic, crushed 2 tbsp olive oil Fresh herbs (rosemary or thyme) Salt + pepper Drop your steak in, coat it fully, and let it sit for at least 2–4 hours (overnight if you’ve got the time). Keep It Clean: One Tub, No Chaos Marinating, seasoning, transporting—it usually turns into a full kitchen mess. This is where the Drip EZ Jr Prep Tub earns its keep. Instead of juggling bowls, bags, and cutting boards, you’ve got everything happening in one place: Marinate directly in the tub Season without spillover Carry it straight to the grill No leaks. No cross-contamination. No extra dishes waiting for you after dinner. The Cook: High Heat, Hard Sear Pull your steak from the marinade and pat it dry (this matters—moisture kills a good sear). Then: Preheat your grill to high heat Sear 3–5 minutes per side (depending on thickness) Let the crust develop—don’t touch it too soon You’re building texture here. That crust is where the magic lives. Don’t Toss the Marinade (Seriously) Most people dump it. That’s wasted potential. Instead: Pour the leftover marinade into a saucepan Add beef broth Bring to a boil (this step is key for safety) Reduce it down Finish with a knob of butter What you get is a rich, velvety sauce that tastes like it came out of a restaurant kitchen—not your Tuesday night routine. The Most Underrated Step: Resting If you cut into your steak right off the grill, you’re throwing away juiciness. Resting lets the juices redistribute so they stay in the meat—not on your cutting board. Wrap your steak in the Drip EZ BBQ Blanket and let it sit for 5–10 minutes. It stays warm. It stays juicy. It eats better. Simple as that. The Takeaway: Smarter > More Expensive You don’t need a premium cut to get a premium result. You need: A marinade that works A process that’s dialed Tools that make it easier (and cleaner) That’s how you turn an everyday steak into something worth talking about.

Tips for Juicy Chicken Every Time (BBQ & Beyond)
If you’ve ever pulled chicken off the grill only to find it dry, chewy, or disappointing, you’re not alone. Getting perfectly juicy BBQ chicken comes down to a few simple techniques—and once you know them, you’ll never go back. Created by @kandbcooking, these tips will help you lock in moisture, boost flavor, and consistently nail tender, flavorful grilled chicken whether you’re cooking for a weeknight dinner or leveling up your backyard BBQ ideas.